How to test your site for compatibility with all kind of devices
Computer devices become obsolete in 5-6 years. It's from my own experience. But devices produced during last 5 years are in use. So a good quality website should work fine on all of them. If now is 2018, then this is the period from 2013 till 2018. Let's think about it. If there is a PC produced in 2013, it probably runs Windows 7, 8 or 10. In this case desktop browser would automatically update to the latest version.
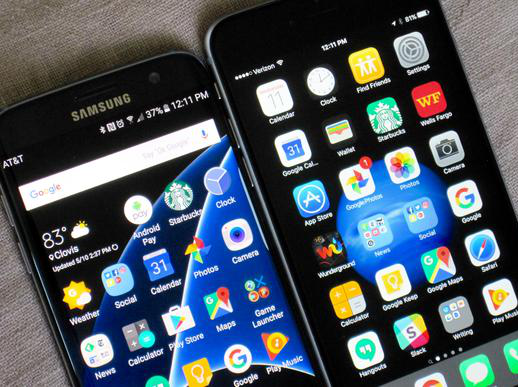
But what about phones and tablets? Latest versions of Opera or Chrome may crash on old versions of Android/iOs. And built-in browsers are bound with Adroid/iOs version, and can't be updated. The best choice, as for me, is when website works fine in Adroid/iOs built-in browser. But how to check it?
We can run an emulator with Android. And use it's built-in browser to test sites.
This article is my step-by-step instruction how to install Adroid in emulator, without purchasing any software.
I have read in Wikipedia that in 2013 Android 4.4 was released. Lets download it's installation from here:
Then we need an virtual computer. The best choice is Oracle VirtualBox. It's basic version is free for individual and commercial use. Lets download it from www.virtualbox.org and install it.
Lunch it and create new virtual machine.
- Type Linux
- Version Other Linux 32 bit
- Without hard drive

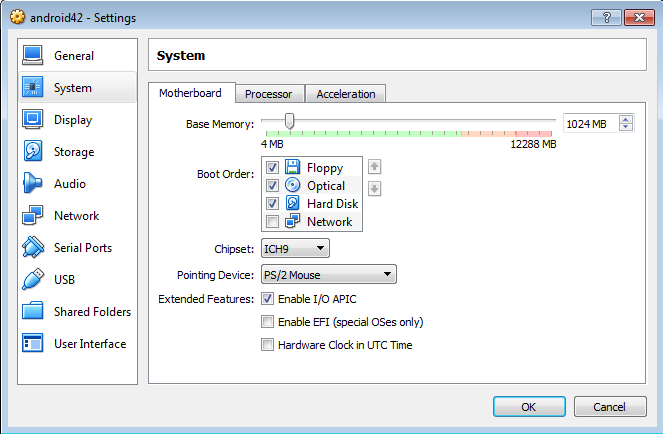
Then make settings
- Base memory 1024MB
- Chipset ICH9
- Pointing device PS/2
- Enable I/O APIC
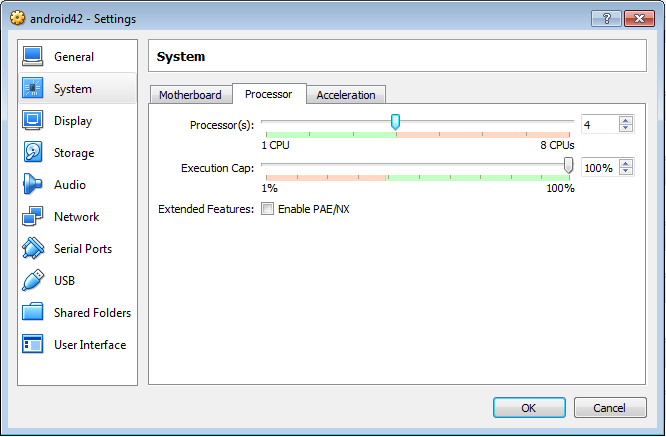
- Quantity of processors equal to the quantity of cores in your computer's CPU
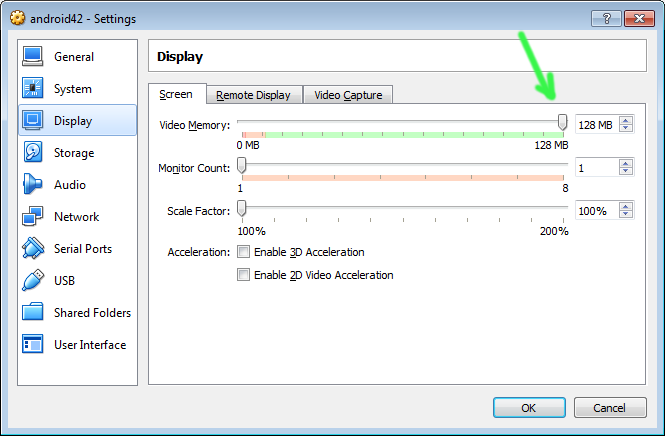
- Video memory 128 MB
- Adapter 1 - NAT
- Adapter type AMD PCNet FAST III
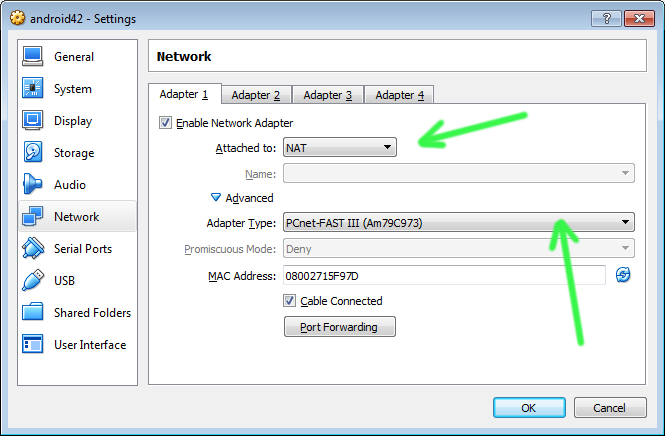
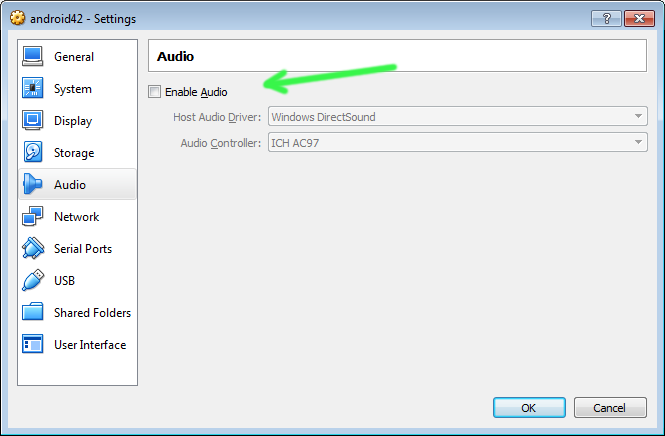
- No audio
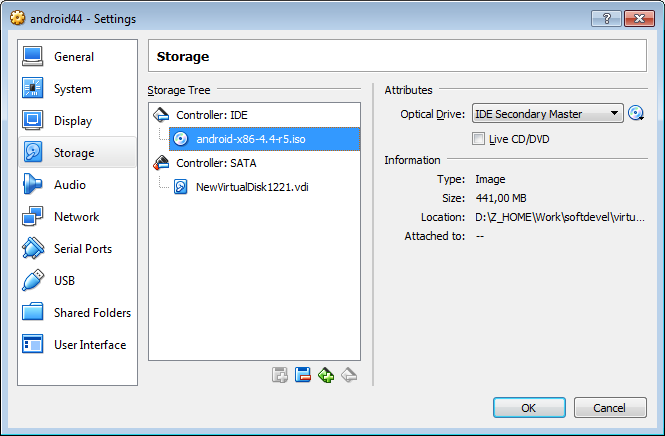
Now let's create new 4GB SATA hard disk. And a virtual IDE cd-rom. Insert in it the file android-x86-4.4-r5.iso
Lunch virtual machine. To get back mouse from virtual machine press right <Ctrl>.
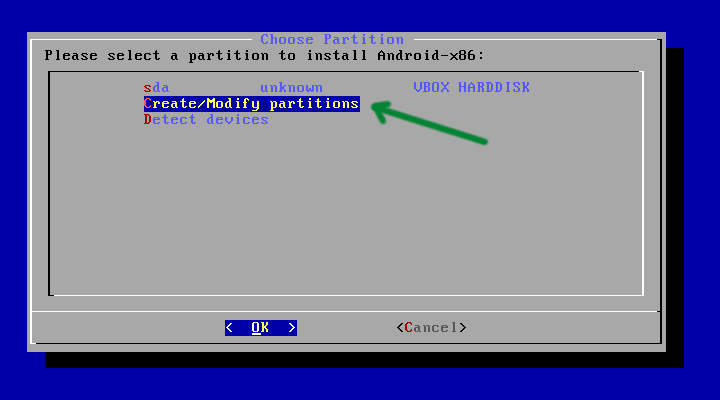
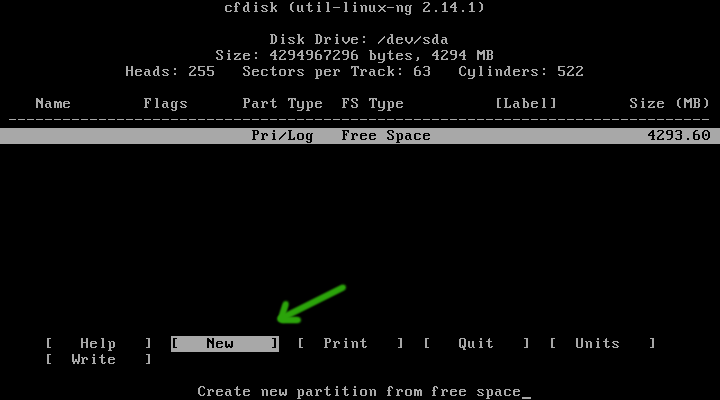
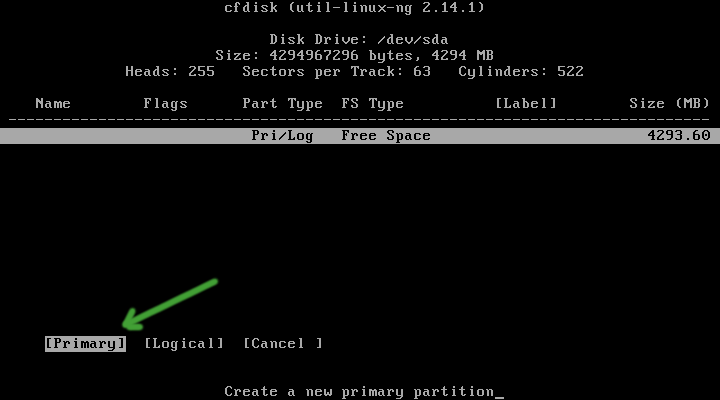
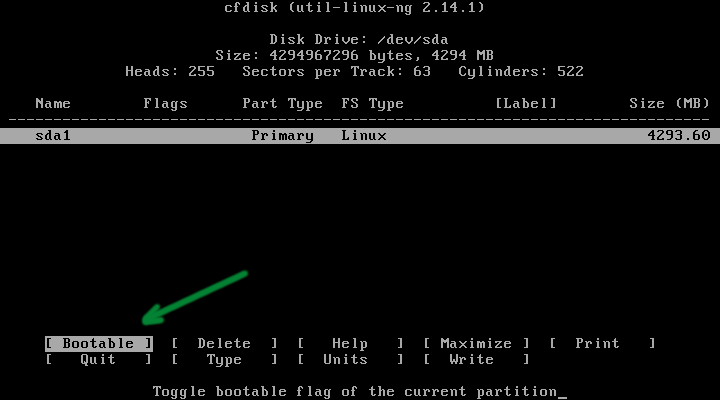
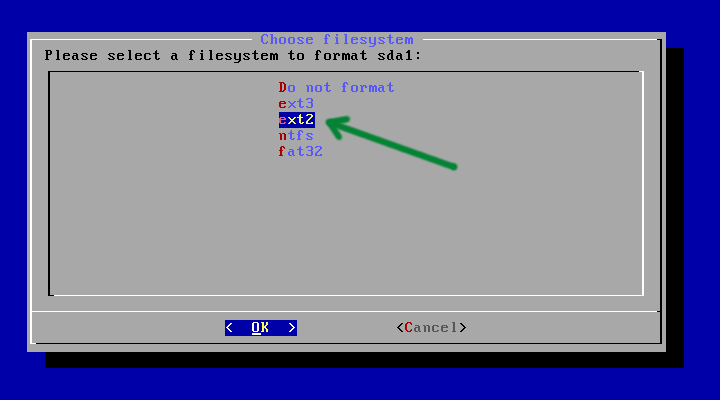
In boot menu select "Installation - Install Android-x86 to harddisk". Create new partition on all available disk space. File system type should be ext2.
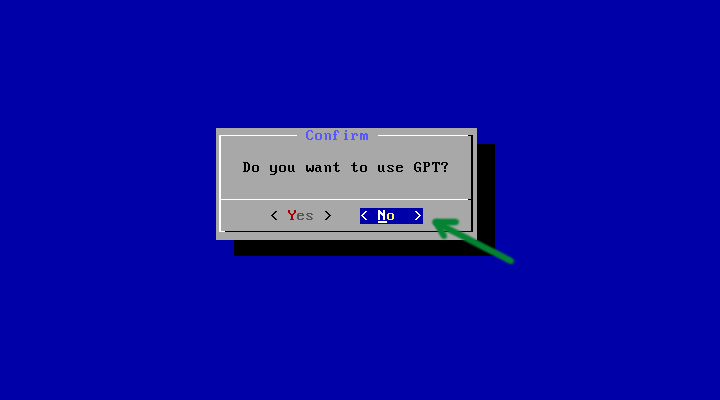
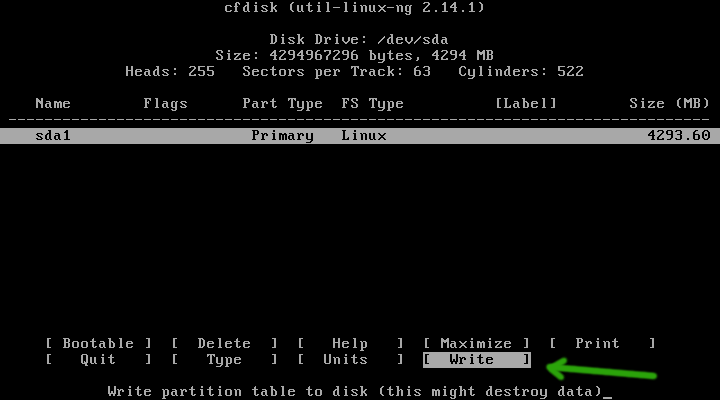
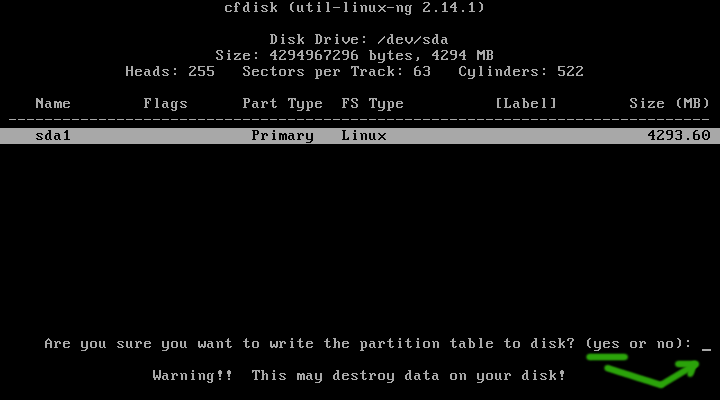
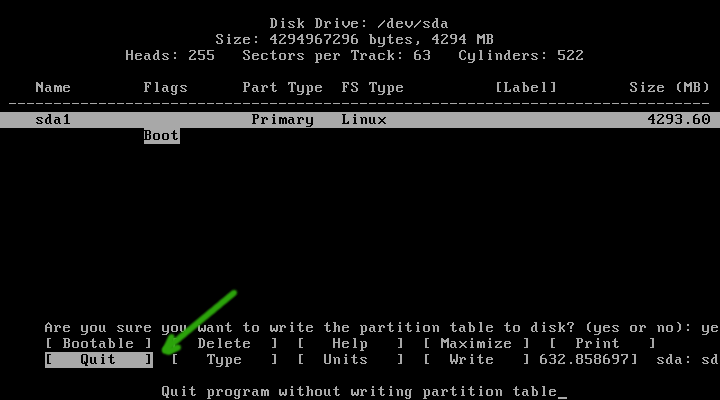
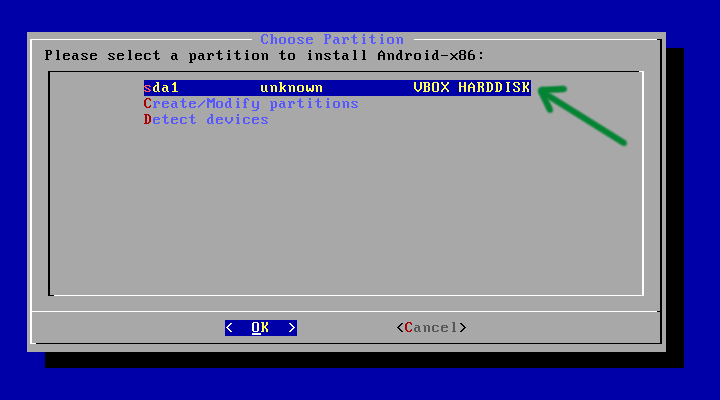
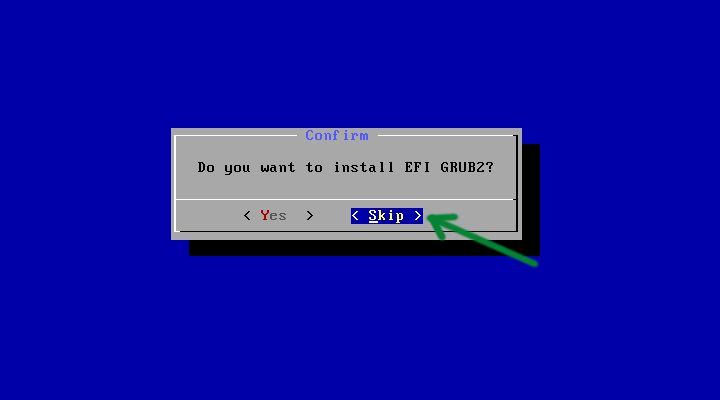
On all next windows press Yes, except "Do you want to intsall EFI GRUB2".
When installation is complete choose Reboot. Remove virtual disk with Android installation.
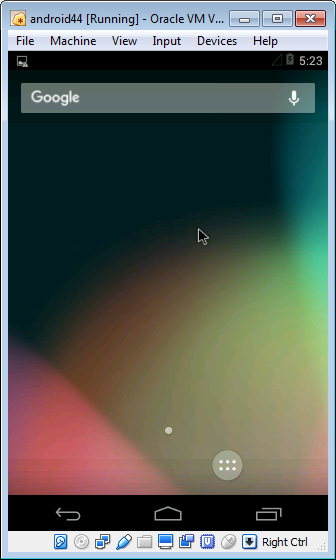
After reboot you should get the Android.


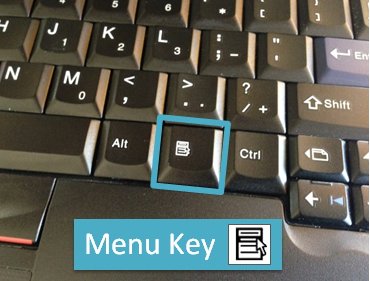
If virtual machine "hangs", it is maybe in suspend mode. Press "Menu" to wake it up.
To shut down virtual Android press : <Right Ctrl> + H

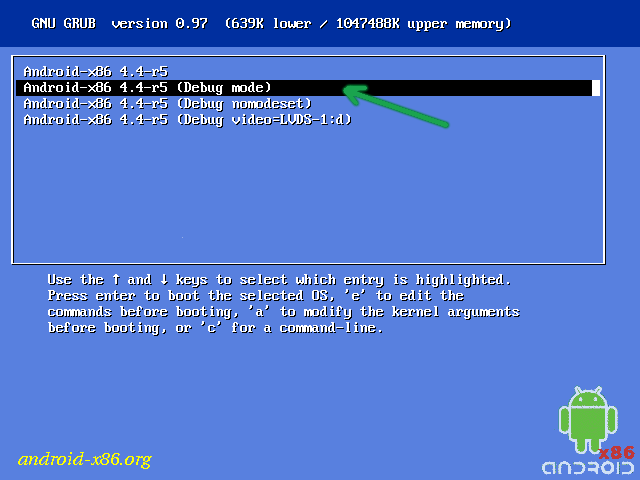
I usually use two virtual machines, one with 1024х768х16 resolution, the other with 320х480х16. They substitute me potential tablet and smartphone. So lets set up Android to 320х480х16 resolution. Restart the virtual machine and run Android in the Debug mode :
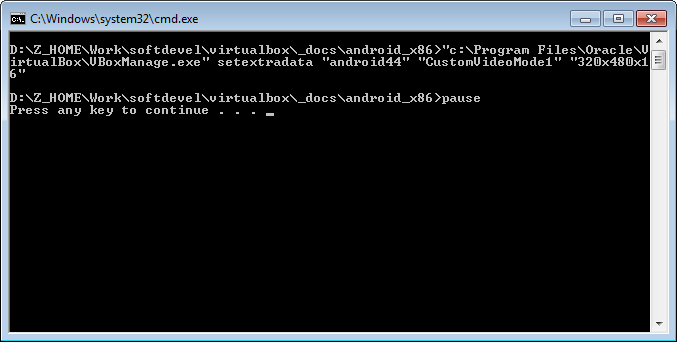
Now in Windows create new cmd file with commands:
"c:\Program Files\Oracle\VirtualBox\VBoxManage.exe" setextradata "android44" "CustomVideoMode1" "320x480x16"
pause
Where "c:\Program Files\Oracle\VirtualBox\VBoxManage.exe" should be your path to VirtualBox, and "android44" your virtual machine name.

Launch the cmd file. It should work without errors.
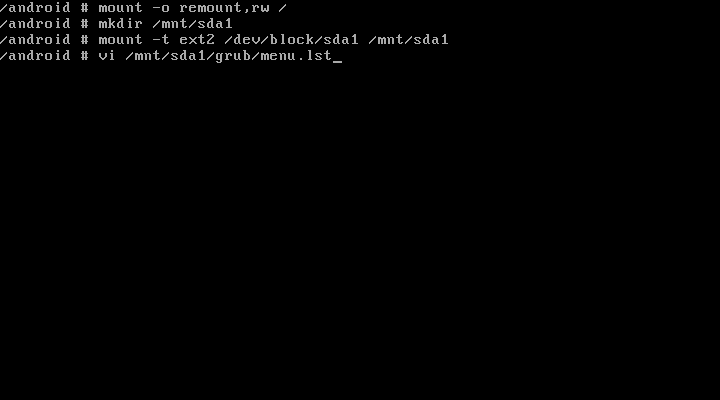
Now go to your Android virtual machine, and enter commands in console:
mount -o remount,rw /
mkdir /mnt/sda1
mount -t ext2 /dev/block/sda1 /mnt/sda1
vi /mnt/sda1/grub/menu.lst
As the result you will get the file menu.lst opened in the vi editor. To start editing press i . To save changes press <Esc>:wq
After the "androidboot.hardware=android_x86" append "vga=ask"

After changes are saved run:
umount /mnt/sda1
And reboot the virtual machine. You will get the video modes list. Find the mode id corresponding to 320x480x16 and enter it.
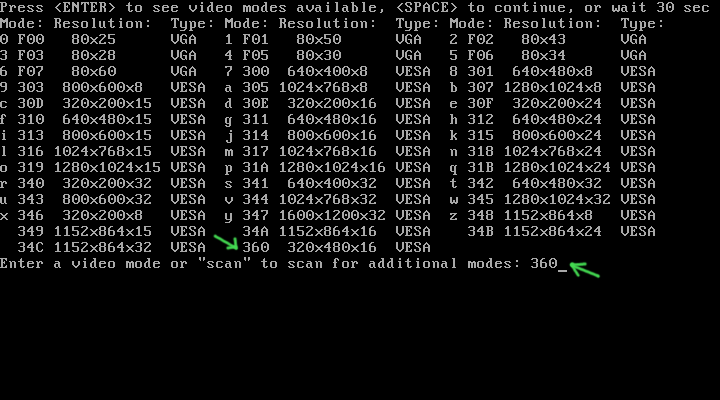
Android will boot with 320x480x16 resolution.
If you don't want to enter video mode id every boot, you can write it in menu.lst file, but with 0x prefix. (for example vga=0x360)
Enable screen keyboard for better website testing.
In the same way you can install newer version of Android. Installation files are located here.
In the next article I'll write about website testing under Mac and iPhone.